How to Forensically Capture Email and Cloud Data Without Breaking the Evidence


Blog Overview – You need evidence to bring clarity in the case, and somewhere in Microsoft 365 mailbox or a Google Workspace account, the evidence you need is present. Untouched and waiting, the question is not whether it exists. It is whether you can capture it without breaking it. One wrong click: a forward, manual save or a simple “export”. Do this, and the evidence you needed can be thrown out of court before anyone even reads it.
In this comprehensive guide we will guide you exactly how to forensically capture email and cloud data.
Understanding Forensic Capture: Foundation Before You Touch Any Evidence
Before you extract a single email, you need three things:
- Correct understanding of what “forensic” means.
- Legal permission.
- Clear boundary of what you are collecting.
Skip any of these, everything you built on top of it, no matter how technically perfect can collapse,
What “Forensic Capture” Means
The simplest way to picture it. Imagine a police officer finding weapon at a crime scene. They will never pick up with bare hands and drop it in their pocket. They will first photograph it exactly where it lies, then lift it with gloves into a sealed and labeled bag.
Forensically capturing email and cloud data performs the same way.
- Downloading
- Forwarding
- Copy-pasting a message
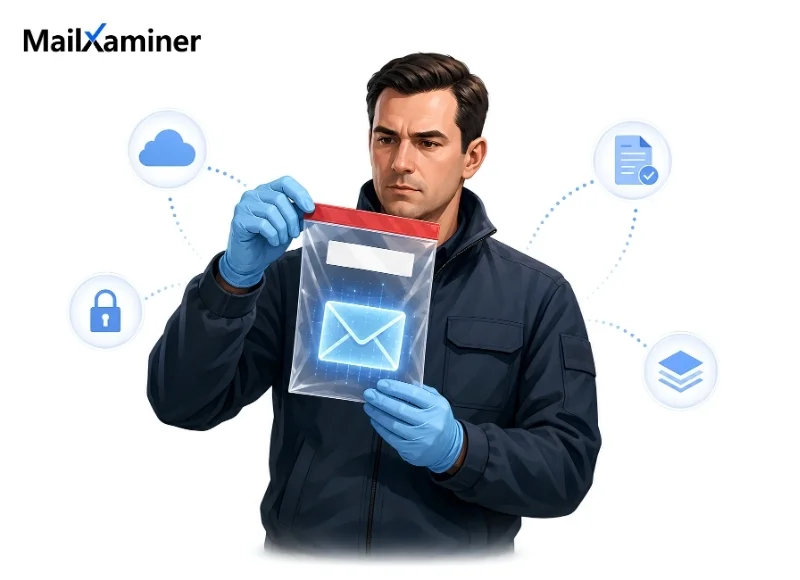
Is equal to picking up a weapon barehanded. This looks fine, but it is already been touched, altered and contaminated. Forensic capture preserves message exactly as it existed on the server:
- Every timestamp
- Routing details
- Every hidden marker
Left completely untouched.
An email you forward is a photocopy. An email you forensically capture is the original page, sealed exactly as it was written.
Get Legal Authority First
Before touching anyone’s email or cloud account, you need one of these:
- Search warrant (law enforcement, based on probable cause)
- Subpoena court order (Civil litigation)
- Documented organizational consent (Employer’s clear acceptable-use policy)
- Preservation request to provider, most email and cloud providers (Google, Microsoft, etc.) allow you to formally request that an account’s data be frozen before it’s deleted, buying time to secure formal legal process. In the US, this is done under 18 U.S.C. § 2703(f); most other jurisdictions have an equivalent provider-preservation mechanism through their own data protection or criminal procedure laws.
Skipping any of this step, will not just weaken your case. In many places, this is a separate legal violation on it’s own. It is like building on a land you never had permission to touch.
Related Read – What is Litigation Hold
Define What You are Collecting
Before capturing a single file, write down exactly what is in scope:
- Custodian(s): Whose account(s) you are collecting from.
- Date range: Exact window that matters to your case.
- Location: Specific mailbox, folder, or cloud path.
- Data Type: Emails only, or also attachments, calendar entries, linked cloud files.
If you skip this, one of two things will happen. You will miss the evidence that mattered, or you will drown it in thousands of irrelevant files. In some jurisdictions, overcollecting itself can be locally challenged.
Why Headers are Hieroglyphs of Your Case
Every single email contains hidden writing most people never see. As ancient walls carried hieroglyphs nobody outside the temple could read. Email headers works the same way, invisible to most, but more valuable than the message itself. Here is what headers prove:
- Received Chain: Exact path a message travelled, hop by hop, like a delivery truck’s GPS log.
- SPF / DKIM / DMARC: Authentication stamps proving the sender wasn’t spoofed, like a wax seal on letter.
- Server Timestamps: Real time a message moved, which cannot be faked the way a device clock can.
Received Chain
Traces the exact path a message traveled, hop by hop.
SPF / DKIM / DMARC
Authentication stamps proving the sender wasn’t spoofed.
Server Timestamps
Real message movement time can’t be faked like a device clock.
The Capture Process: Step by Step, Platform by Platform
With legal authority secured and scope defined, this is the actual work. Every platform stores email and cloud data differently. The method has to change to match it.
With legal authority secured and scope defined, this is the actual work. Every platform stores email and cloud data differently. The method has to change to match it.
Step 1: Capture Email Evidence – Let us check how to capture evidence data from several platforms.
- Microsoft 365 and Exchange: Use API-based, server-side extraction, through Microsoft Graph API or the eDiscovery/Compliance Center. Not manual export from Outlook. This pulls data straight from the server in native PST, MSG, or EML format, without touching the live mailbox. Apply a legal hold immediately, so nothing gets auto-deleted by a retention policy mid-investigation.
- Google Workspace and Gmail: Use Google Vault or an API-based tool with proper OAuth/admin-level credentials. Skip the consumer “download” or “forward” options. They will strip server-side metadata. Capture in MBOX or EML format to keep the message structure complete.
- Capture Cloud Storage: OneDrive, SharePoint, Dropbox: Filter by custodian, date range, or folder path to stay scoped. Pull the metadata alongside files account activity logs, linked device tokens, sharing history. For any cloud instance or virtual machine involved, capture a snapshot immediately. Ephemeral resources can vanish or reset without warning, taking the evidence with them.
Cloud data doesn’t wait for you to be ready. If it can disappear on its own, capture it before it does not after.
Step 2: Recover Deleted, Hidden, and Encrypted Data:
Deleted don’t mean it is gone. Many platforms hold deleted items for a limited window, it is often between 30 to 90 days, before erasing them permanently.
- Check trash/deleted folders immediately.
- Look for a brief server-side “shadow”; some platforms retain copies even after trash is emptied.
- For encrypted or password-protected files, use email forensics software or a professional tool to recover damaged or locked containers. Standard email clients can’t do this.
Step 3: Hash the Evidence Immediately
Cryptographic hash (SHA-256) proves your captured file has not changed since the moment you have collected it. It is the digital version of that wax seal. Generate it right after capture, before any analysis begins. Check it again every time the file moves.
Step 4: Maintain Chain of Custody
In a relay race, one dropped baton disqualifies the whole team. No matter how fast anyone ran. Chain of custody works the same way. Log in a detailed manner.
- Who collected the data?
- When it was collected.
- What tool was used?
- List of everyone who touched it afterwards.
Any gap in that log can disqualify the whole case.
Step 5: Export to a Court-Ready Format
Raw forensic files are not useful in the courtroom on their own. Convert that captured data into
- PST/MSG/EML for continued forensic work.
- PDF or native-format exports with metadata intact for legal review.
- Load files formatted for eDiscovery platforms.
Mistakes That Sink Strong Cases
- Forwarding or manually saving instead of extracting forensically.
- Collecting before a legal authority is documented.
- Delay of hash generation, leaving a gap that evidence integrity can be challenged on.
- Waiting too long and missing the deleted-item recovery window
- Incomplete custody log when many people handled the same evidence.
From the above information, there must be some clarity on How to forensically capture email and cloud data.
Related Read – How to see hidden text in email
After This, You Will No Longer Be Guessing
You now know completely which permission to secure first, which method fits which platform. Everything we discussed above is technically possible to do by hand, but manually extracting headers, generating hashes, tracking custody and reconstruction of MIME structures across several mailboxes is slow. One misplaced step anywhere breaks the whole chain.
This is exactly why MailXaminer exists. It captures email and cloud data forensically and generated SHA-256 hashes automatically, recovers deleted and encrypted mailboxes, logs chain of custody throughout, and exports court-ready reports all in one workflow.
Frequently Asked Questions
Q – What is the difference between forensic capture and just downloading an email?
A – Downloading or forwarding can change metadata and strip headers. Forensic capture uses server-side extraction that preserves the original exactly as it exists, with a hash proving nothing is changed.
Q – Do I need a warrant to capture someone’s email?
A – It depends, law enforcement generally needs a warrant, civil cases need a subpoena, and internal investigations can proceed under documented consent or company policy.
Q – Can deleted emails still be recovered?
A – Yes, within a limited window — commonly 30 to 90 days — before most platforms purge them permanently.