How to Authenticate Emails for Evidence (Step-by-Step)


Blog Overview – Many investigations start with a suspicious email. It can contain threats or approval for a money transfer. One question quickly appears: Is an email real, or is it manipulated. Courts and investigation teams need proof that the email is genuine and untouched. In this blog, we will discuss how to authenticate emails for evidence, in a simple step-by-step way so investigators and legal teams can trust the findings.
Why Email Evidence Becomes Questionable
In digital and modern investigations, emails play a crucial role. Emails appear in
- Corporate fraud cases.
- Harassment complaints.
- Insider data leaks
- Cybercrime investigations
Due to emails playing a central role in all this, proving that an email is genuine is not a simple task as cyber criminals are clever they perform activities like,
- Change information inside an email.
- Creation of a fake timestamp
- Hide the real sender location
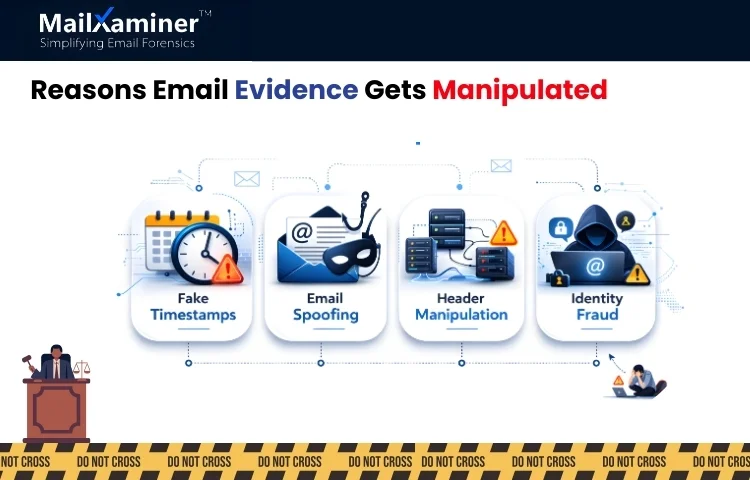
When these activities happen, an email may look real, but it actually doesn’t come from the person it represents. This is the reason an investigator has to identify email authenticity, and how professional tools like MailXaminer make email forensics simple, and due to this, we will be learning how to authenticate emails for evidence.
How to Authenticate Emails for Evidence: Step-by-Step
Authenticating emails for evidence can be seen as examining a physical piece of evidence at a crime lab. Investigators have to confirm where it came from, whether it was altered, and does it’s timeline makes sense. The process that proves an email is real and has not been changed, investigators follow the process mentioned below in steps.
Step 1 – Preserving The Original Email Evidence

The first rule of digital forensics is to never alter the original evidence. When an email is collected in the process of an investigation. The original file must remain intact; even if a single character is changed, the authenticity of the evidence can be questioned.
Investigators create a digital fingerprint of the email using hash values such as MD5. This fingerprint acts like a tamper-proof seal on an evidence bag. If emails get modified or changed later, fingerprint changes prove the data was altered.
With the help of this step, trust is established that the email evidence is exactly the same as when it was first collected.
Step 2: Header Analysis
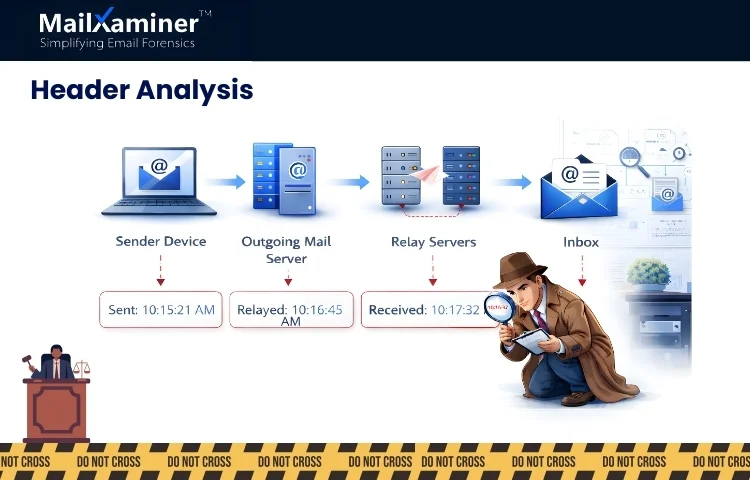
Most people only see the message body of an email. Every email contains data which is hidden and technical that is the email headers.
Email headers include important elements such as:
- The sending server.
- The route the email travelled.
- Timestamps from different mail servers.
- Authentication results.
This can be thought of as plane travel across cities. Each airport records the time of arrival and departure. Headers work the same way; they record details of every mail server that handled the message.
Investigators study these records to confirm and verify that the email came from the expected source. We hope you are getting some clarity on how to authenticate emails for evidence.
Step 3: Identity Verification
Cyber attackers have the habit of forging email addresses. This is called email spoofing. In spoofing attacks. The sender’s address looks real, such as CEO or a company executive. However the real sending server may belong to a completely different system.
Authentication records like SPF, DKIM and DMARC verify whether email passes necessary security checks during delivery or not. When compared with the sender’s domain, and the records do not match, we can say the email was impersonated or forged.
This step becomes important in fraud investigations, especially in cases involving financial transfers or executive impersonation. This step becomes very important in the process of how to authenticate emails for evidence.
Step 4: Check the Email Timeline for Inconsistencies
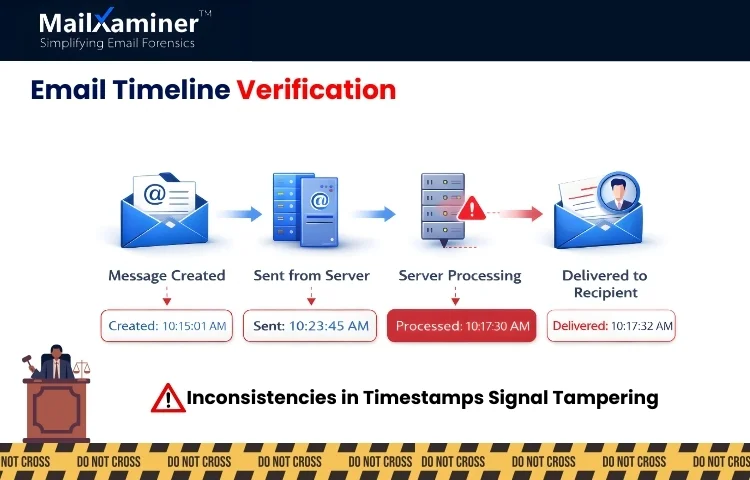
The most important part of email authentication is timeline verification of an email. Email contains timestamps like:
- Message creation date and time.
- Sending time
- Receiving time
- Server processing times.
If these important timestamps do not align. Indication is that the message was edited or manipulated.
For example, an email that looks like it was sent before it was actually created may signal post-creation tampering. It is the responsibility of an investigator to compare these elements very carefully to identify inconsistencies.
Step 5: Examine Attachments and Embedded Content
Attachments and embedded content contain hidden metadata that helps investigators in the verification of authenticity. To take an example, a document attached to an email may contain important information like:
- Original author name,
- File creation time
- Editing history
- Software used in the creation of the document.
Through studying the data investigator can reach the point of determining whether the document was created by the sender or inserted later to manipulate the evidence.
If attachments are just scanned pictures of data, investigators can use OCR analysis methods to extract data out of it. This is an essential step in understanding how to authenticate emails for evidence in real investigations.
Step 6: Tampering Detection
To detect post-creation tampering, investigators usually compare multiple email elements, such as:
- Creation time
- Sent time
- Received time
If these timestamps do not match, it indicates manipulation. This process helps investigators quickly identify the loopholes in the data.
Step 7: Analyze Raw Email Structure
To make sure that the process of how to authenticate emails for evidence, remains accurate, the next step is to analyze raw email structure. As emails contain more than just a visible message, it includes a technical structure that an investigator can analyze using MIME and HEX views.
- MIME view – It shows the structure of the email, attachments and encoding formats.
- HEX view – It shows the raw binary data of the message.
Through examination of these technical layers. Investigators can analyze and research on hidden changes, suspicious encoding and structural inconsistencies that indicate tampering.
Step 8: Validation of Digital Signatures
Some emails can contain digital signatures or encryption certificates that confirm the identity of the sender. When an investigator verifies these signatures, they can confirm:
- The sender’s identity.
- Whether the email content was changed after sending.
If a digital signature fails the verification test. It may indicate the email was altered or forged.
Step 9: Maintain Forensic Integrity
During an investigation, email evidence must be handled carefully and according to prescribed forensic standards. One widely accepted framework is Electronic Discovery Reference Model (EDRM). According to this model, stages such as,
- Identification
- Preservation
- Collection
- Processing
- Review
- Production
This structured process ensures evidence remains reliable and admissible. We hope you are clear on how to authenticate emails for evidence. Let’s check the last step.
Step 10: Generation of an Authentication Report
Once the evidence analysis is complete. Investigators document their findings in a forensic report. These reports typically include:
- Hash verification results.
- Header analysis findings
- Sender authentication checks.
- Timeline validation details
The report transforms into an audit trail that explains how investigators confirmed the authenticity of the email evidence. When these steps are performed, your journey of how to authenticate emails for evidence, gets completed.
Final Thoughts
Understanding how to authenticate emails for evidence is extremely important is digital investigations. The process includes steps like verifying headers, checking timelines and validating the sender’s details. Investigators can confirm whether the email is genuine or manipulated. When proper forensics methods are followed, email evidence becomes reliable and legally defensible
Frequently Asked Questions
Q – How to authenticate emails for evidence in an investigation?
A – To authenticate emails, investigators verify headers, check timestamps and use hash values to confirm whether emails have been altered or not.
Q – What methods are used to authenticate emails for evidence?
A – Common methods include sender authentication checks, metadata examination, header analysis and attachment analysis for checking authenticityif an email.